Mobile Food Market Basket – Snack and Meal Ideas March 24-28
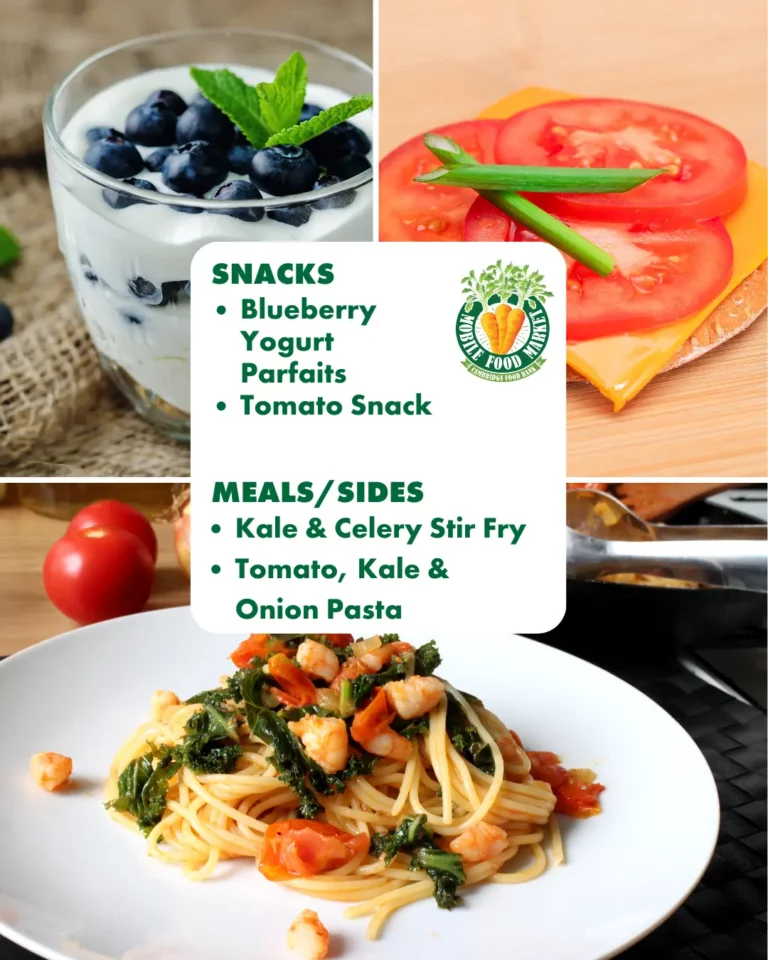
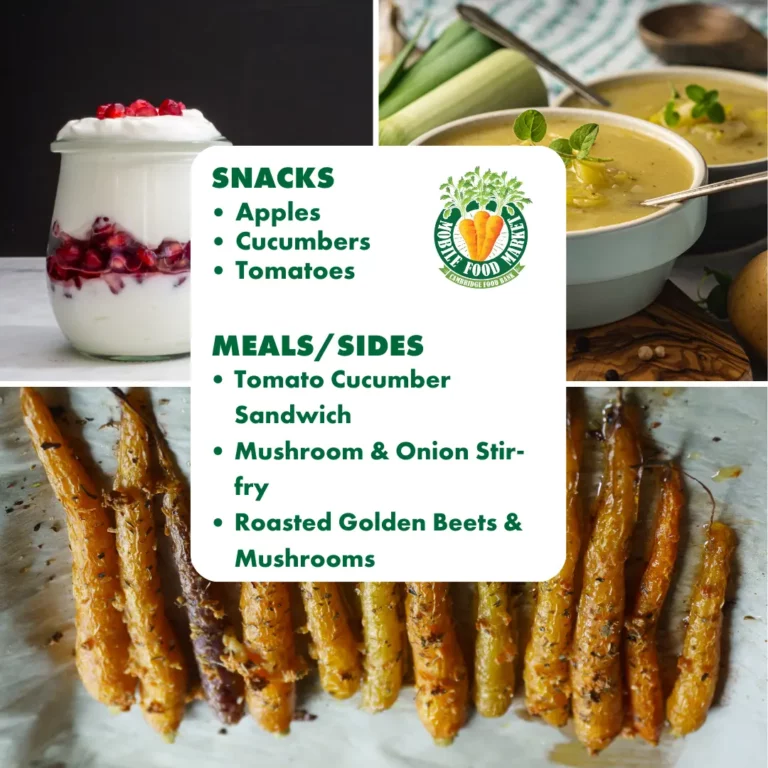
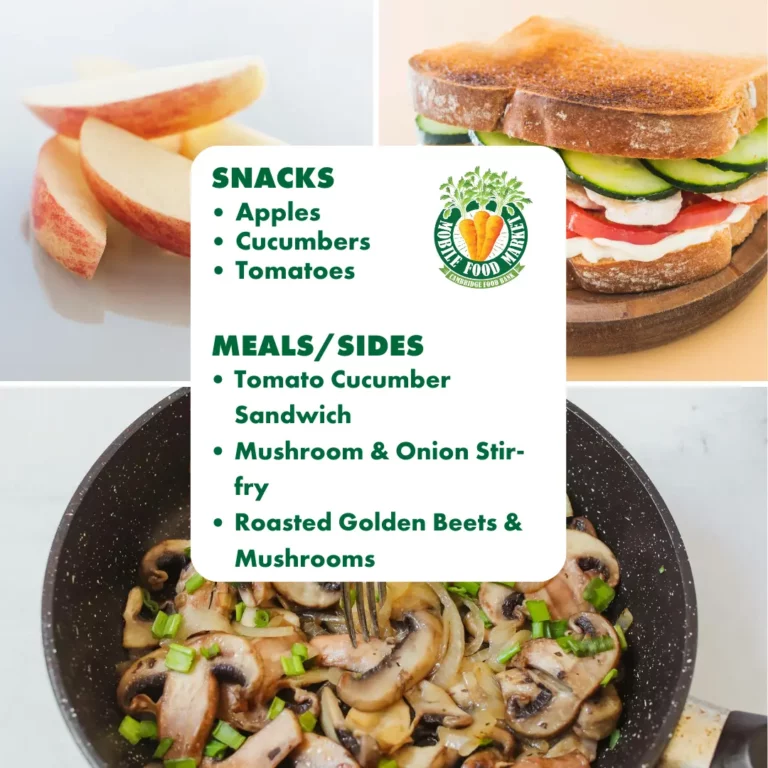
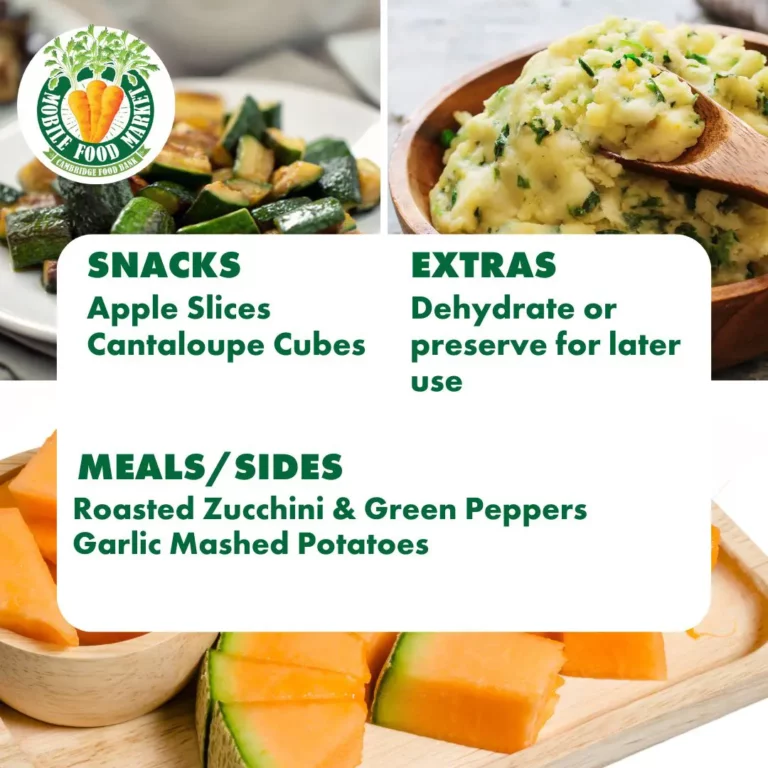
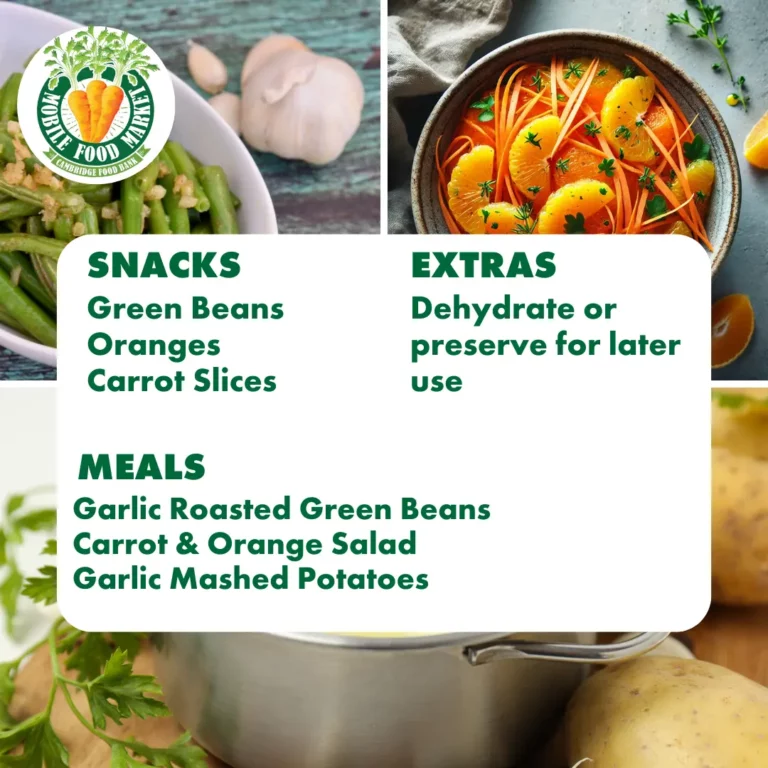
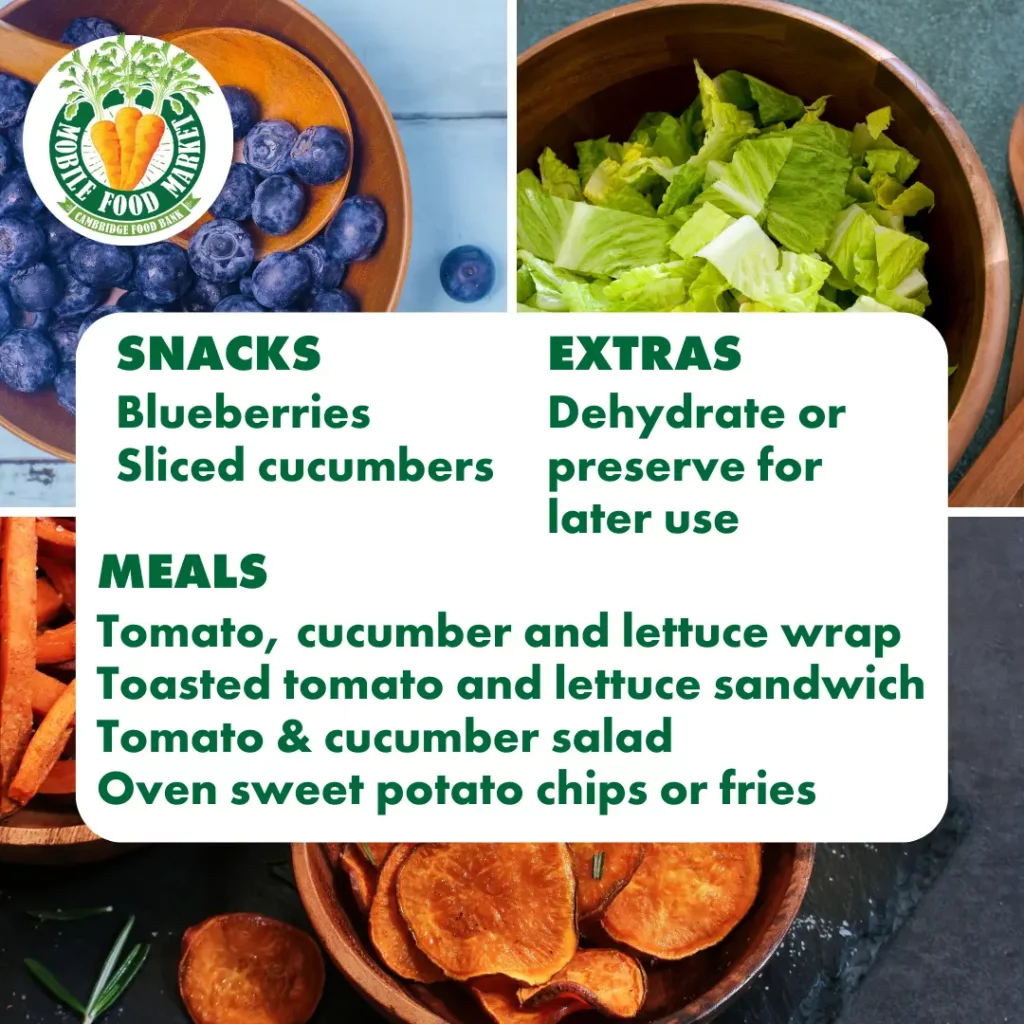
Snack Ideas:
Meal/Side Dish Ideas:
Blueberry Yogurt Parfaits
Ingredients:
- Fresh blueberries
- Plain or vanilla yogurt (can substitute with canned coconut milk mixed with a bit of sugar if yogurt is not available)
- Optional: granola or crushed cereal for crunch
Instructions:
- In a glass or bowl, layer yogurt, blueberries, and granola (or cereal).
- Repeat layers and top with a few extra blueberries.
- Chill for a few minutes or eat immediately.
Tomato Snack
Ingredients:
- Fresh tomatoes, sliced
- Green onions, finely chopped
- Crackers or toast (use whatever bread or cracker substitute is available)
- Optional: sprinkle of salt and pepper
Instructions:
- Top each cracker or piece of toast with sliced tomato.
- Sprinkle chopped green onion over the top.
- Add a little salt and pepper or a drizzle of olive oil if available.
Kale & Celery Stir Fry
Ingredients:
- Green kale, washed and chopped
- Celery, chopped
- Red onion, sliced
- Oil (any kind)
- Salt, pepper, and a splash of vinegar or lemon juice (optional)
Instructions:
- In a large pan, heat oil and sauté red onion until soft.
- Add celery and cook for 3–4 minutes.
- Toss in kale and stir until wilted and tender.
- Season with salt, pepper, and a splash of vinegar or lemon juice if you have it.
Substitutions:
- No kale? Use cabbage or spinach if on hand.
- No vinegar? Just skip or add a squeeze of tomato juice for acidity.
Simple Fresh Tomato, Kale and Onion Pasta
Ingredients:
- Tomatoes, diced
- Red onion, chopped
- Olive oil or any cooking oil
- Salt, pepper, and any dried herbs (optional)
- Pasta or rice
Instructions:
- Cook pasta or rice according to package instructions.
- In a pan, heat oil and cook red onion until softened.
- Add tomatoes and cook until soft and juicy, about 5 minutes.
- Toss tomato mixture with pasta or rice, season with salt and pepper, and top with chopped green onion if desired.
Substitutions:
- No pasta or rice? Serve over toast or baked potatoes.
- No herbs? The simple onion and tomato mix will still be delicious.
Follow the steps above or you can substitute with what you have at home.
Click here and follow Health Canada’s food safety guidelines when following any suggested recipes, preserving canning, or dehydrating techniques.